Required Plugins And Setup
WooCommerce Multilingual (WCML) can be used on its own without WPML to add multicurrency functionality to your WooCommerce store. Read more about WCML’s multicurrency features. To build a multilingual store with WooCommerce Multilingual and WPML, you need to have the following plugins installed and activated:
- WooCommerce Multilingual
- WPML 4.4.11 or above
- WPML String Translation
- WooCommerce 3.9.0 or later
If you want to use different images for different translations of a product, you need to install WPML Media Translation.
If you are working with a developer, they should install and set up all the necessary components listed in this section.
You can get all WPML components, including WooCommerce Multilingual, from your WPML Downloads page. Both WooCommerce Multilingual and WooCommerce are also hosted in the WordPress plugins repository. Got all plugins? Let’s start!
Using the Installer For Easy Plugin Download and Updating
If you want to use WooCommerce Multilingual with WPML, there is a built-in Installer for downloading, activating, and updating all of the required plugins.
After you activate WooCommerce Multilingual, go to Plugins → Add New and click the Commercial tab.
From here, you have the option to buy a WPML license or enter the registered site key if you already bought WPML. Purchase or register WPML to see a list of plugins available to download, activate, and update.

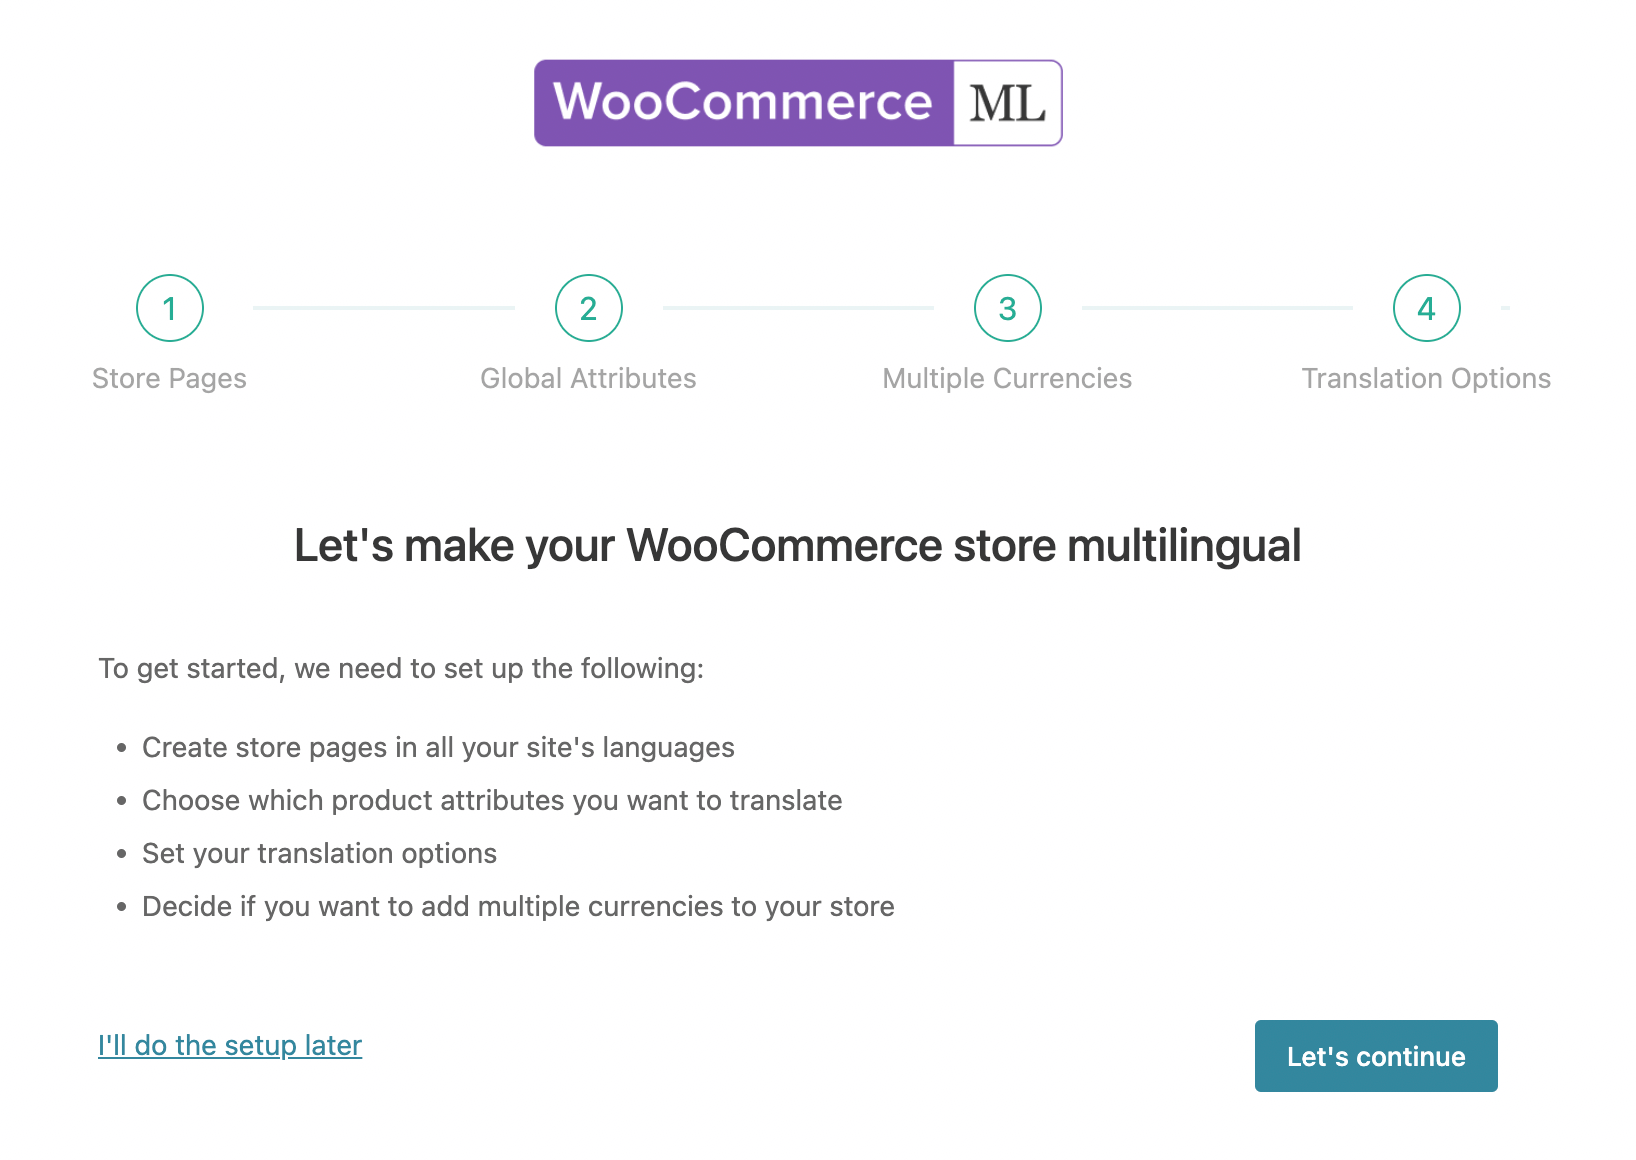
Using The Setup Wizard
WooCommerce Multilingual features a Setup Wizard to help guide you through the basic steps of configuring your site with the WooCommerce Multilingual plugin.
Once you activate all the required plugins, you will be prompted to start the WooCommerce Multilingual Setup Wizard.
Setting Up the Store Pages
When going through the setup wizard, WooCommerce Multilingual automatically sets up the standard WooCommerce store pages to appear in all your site’s languages.
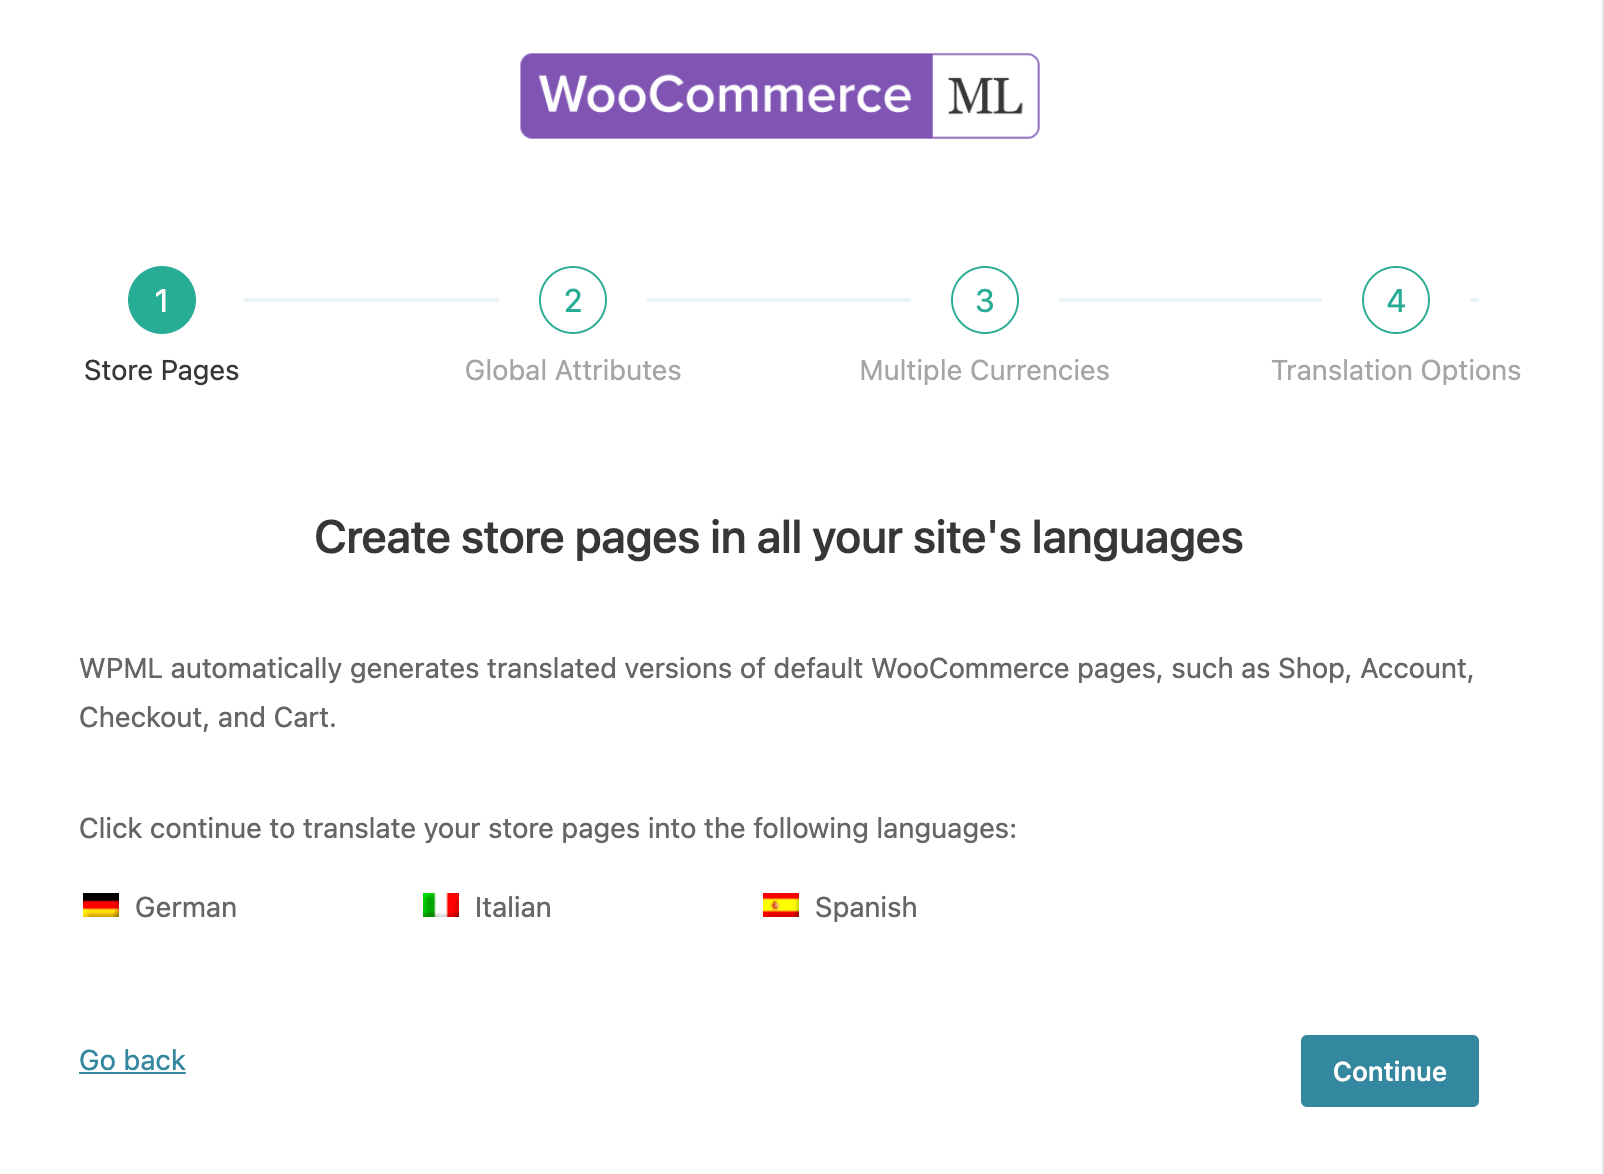
WooCommerce Multilingual creates these pages with the available translated page titles. You can always change the page title translations later.
Translating Products
Translating Products Automatically
With WooCommerce Multilingual, you can translate your entire site automatically by setting WPML to Translate Everything Automatically. This translation option lets you automatically translate all your e-store contents, including store pages, products, product taxonomies, and more immediately as you create or edit them.
When going through the WCML setup wizard, choose the translation option to Translate all products automatically.
If you want to translate all your products automatically but not your posts and pages, you can choose which products to translate by setting WPML to Translate What You Choose. In the WCML setup wizard, select Choose which products to translate. Then, translate them using bulk automatic translation.
You can also send products to be translated by your own team of translators or a professional translation service using Translation Management.
Duplicating Products
If you don’t want to translate all your products, you can still display them in all of your languages. To do this, you can duplicate or copy your products into other languages. Or, you can use the default language as a fallback if a product hasn’t been translated yet.
Learn more about these options on the page about displaying untranslated content in secondary languages.
Translating Product Add-ons
WooCommerce Multilingual allows you to translate fields added to Products by various WooCommerce extensions. All the fields and options from these supported extensions are set to Translatable by default in WPML → Settings.
Translating Product Variations
WooCommerce Multilingual automatically creates and synchronizes product variations in all languages. After you create a variation in the default language, save the product (in the default language) and WooCommerce Multilingual will immediately create the same variations for all translations of the product.
Product variations can be translated in the Products tab, just like simple products. When you translate your product variation, your custom product attributes are available for translation as well.
You can also translate variation image titles. If the variations use global product attributes, they need to be translated in the corresponding taxonomy tabs. Once you’ve translated all attributes, you can automatically generate the variations for the translated products.
After translation of attributes is done, the related variations of the products in other languages need to be created as well. This is done by using the Synchronize attributes and update product variations button under the attribute tab.
Translating Cart and Checkout pages
Translating WooCommerce Checkout and Cart pages is a bit different than translating the rest of WooCommerce content. The theme and plugins in your site often provide these translations but in some cases, you need to do some additional steps.
Translating Product Categories, Tags, Attributes and Custom Taxonomies
Most stores are arranged by product categories, and some also use tags. If you are using variations, you are probably using product attributes as well. These are all stored as WordPress taxonomies.
In the setup wizard, WooCommerce Multilingual lets you choose which product attributes to make translatable.

If needed, you can later change these settings from the Taxonomies Translation section in WPML → Settings.
You can then translate your product categories, tags, attributes, and custom taxonomies from the respective tabs in WooCommerce → WooCommerce Multilingual.
Click the plus icon to enter the translations of your taxonomy term name, slug, and optional description. The name is what’s displayed on the screen, the slug appears in the URL, and the description shows on the WordPress admin when editing. If your store includes many categories or other taxonomy terms, use the search function to locate them quickly.
If you prefer not to translate your taxonomy, you can set WooCommerce Multilingual to display original product categories, tags, and attributes if their translations are not available.
Translating Custom Taxonomies From the WooCommerce Multilingual Page
There are many plugins, such as Toolset Types, that allow you to add custom taxonomies to your site, and some plugins and themes automatically add custom taxonomies to Products.
WooCommerce Multilingual allows you to translate any custom taxonomies associated with WooCommerce Products just like any of your standard taxonomies.
Once a custom taxonomy is associated with Products, a Custom Taxonomies tab appears on the WooCommerce → WooCommerce Multilingual page.
You can translate them by clicking the plus icon for the corresponding language.
Translating and Displaying Product Reviews
If your customers leave reviews in different languages, you can choose to show only reviews created in the selected language or show reviews in all languages by default. You can also translate product reviews by going to WPML → String Translation.
Read more about translating and displaying product reviews.
Translating Image Texts
WooCommerce Multilingual automatically synchronizes all images between product translations. This includes the featured image, image gallery, and all variation images so that all translations display the same images. When you translate your product, image texts such as caption, title, or description are also available for translation.
If you want to use different images for your translations, you can upload different images using Media Translation.
Translating URLs
Different component parts of the URLs can be translated with WooCommerce Multilingual. To translate these components, go to the WooCommerce → WooCommerce Multilingual page and click the Store URLs tab. You will see a list of URLs and a column with the translation status for each language. Click on the Pen icon to edit existing URL translations or the plus icon to add a new translation.
Here, you can translate:
- Product permalink base (e.g. http://example.com/product/book)
- Product category base (e.g. http://example.com/product-category/men)
- Product tag base (e.g. http://example.com/product-tag/new)
- Product attribute base (e.g. http://example.com/filters/color/white/)
- Product attribute slugs (e.g. http://example.com/filters/color/white/)
Please note that an attribute should be marked as translatable in WPML → Settings and have archives enabled in Products → Attributes to be able to translate the slug.
Automatically Translating Product Slugs
To translate product slugs automatically, you need to send them for automatic translation from WPML → String Translation:
- Search for the slug you want to translate, such as product.
- In the String Translation table, you’ll see the string displayed in both the woocommerce and WordPress domains. Select the string belonging to the WordPress domain. The WordPress domain holds the URL slugs for WooCommerce products.
- Click the Translate button.
You or your site’s translators can then go to WPML → Translations and click Translate next to the translation job with the strings. This will take you to the Advanced Translation Editor, where the automatic translations are instantly filled in for you. You can review and edit them as needed.
Translating WooCommerce Endpoints
Endpoints are an extra part of the URL that WooCommerce detects and uses to render the appropriate content on the page.
For example, you may have a page yoursite.com/my-account. If you add the edit-account endpoint to this URL, making it yoursite.com/my-account/edit-account, WooCommerce will show the Edit account page instead of the My account page.
Endpoints can also be translated via the Store URLs tab.
Two of the most common endpoints are the account page endpoint and the checkout page endpoint. You can find more details about endpoints in the official WooCommerce documentation.
Translating URLs for Shop, Cart, Checkout, and Account pages
Page URLs are translated by translating the respective WooCommerce pages.
- http://example.com/shop/ (English)
- http://example.com/fr/boutique/ (French)
Translating Shipping Classes
WooCommerce allows you to set up different shipping options for your products. You can set them on the WooCommerce → Settings page, under the Shipping tab.Shipping classes allow you to group items of a similar type. For example, you can create shipping classes for small, medium, and large packages, with different shipping costs for each.After you create the shipping classes in the site’s default language, you can translate them under the Shipping Classes tab of the WooCommerce → WooCommerce Multilingual page.
Classes page in WooCommerce Multilingual
Translating WooCommerce Emails
WooCommerce allows you to send emails to your customers about their orders. These default emails are translated automatically. You can also choose to customize them in your WooCommerce settings or by creating custom PHP templates.
With WooCommerce Multilingual, you can easily translate these emails, using String Translation.
Read more about translating WooCommerce emails.
Automatic Inventory and Product Attributes Synchronization
When you sell a product, the language the sale was in doesn’t matter for inventory management. Set your inventory in the default language product setting. WooCommerce Multilingual automatically updates your inventory when customers buy in different languages. The same goes for non-textual product attributes, such as size and weight. You need to enter them in the default language only. WooCommerce Multilingual will set them the same for all translated products.
Using Multiple Currencies
WooCommerce Multilingual helps you to use multiple currencies on your sites and add a currency switcher to your product pages. You can also add currency switchers to other places on your site using a shortcode.
You can use WCML’s multicurrency features without WPML. This allows you to set up different currencies based on your customers’ locations.
If you have WPML, you also have the option to display different currencies based on site language, and you can set specific payment methods for each currency.
To enable multiple currencies in your store, go to WooCommerce → WooCommerce Multilingual and click the Multicurrency tab. Here, you can add and format the different currencies for your site.

When setting up your currencies, you can set up automatic exchange rates for your store. You can choose from several renowned online services as the source of the exchange rates data, specify the frequency of automatic exchange rates updates, and apply a lifting charge.
It is also possible to set manual prices in secondary currencies, including for prices other than the standard WooCommerce ones (regular and sale price). This allows other extensions to not rely on prices determined using exchange rates. For example, in the case of the WooCommerce Subscriptions extension, you can manually set your own sign-up fee in all currencies.
You can also set custom shipping rates in each currency. This allows you to manually set your shipping rates in secondary currencies without relying on the exchange rate. Set your prices independently per currency for shipping amounts that make sense, no matter where your customers are located.
For detailed information, visit our documentation about using multiple currencies on your sites.
Clearing Cart Contents When Language or Currency Changes
When using multiple currencies on your sites you can choose what happens with products in the cart when users switch language or currency. Cart contents are synchronized by default, or you can reset your cart contents if products aren’t synchronizing correctly. This can happen for complex products like subscriptions and bookings, or products featuring advanced options like table-rate shipping. For detailed information, visit our documentation about clearing cart contents when language or currency change.
Popular WooCommerce Extensions
WooCommerce Multilingual allows you to translate many of the most popular WooCommerce extensions. Each WooCommerce extension introduces additional labels, fields, and other types of translatable strings. You can translate them using WooCommerce Multilingual and WPML. Visit the following pages for extension-specific documentation:
Using WordPress REST API With WooCommerce Multilingual
WooCommerce Multilingual is compatible with the WordPress REST API. Using the REST API, you can now create, read, update, and delete translated WooCommerce content. This includes Products, Categories, Orders, and others.
To learn more about this topic, please visit our WordPress REST API documentation page.
Using WooCommerce Multilingual Hooks
WooCommerce Multilingual has a set of actions and filters that developers can use to make their themes and plugins work smooth in the multilingual environment.To learn more about this topic, please visit our WCML Hooks Reference documentation page.
Information for WooCommerce Theme Developers
If you are developing your own WooCommerce themes or doing major customizations to existing themes, you should make sure that they work well in multiple languages.To help you, we’ve prepared a complete tutorial on making WooCommerce themes multilingual and multi-currency ready.