ManageWP is a renowned service that allows you to manage all your WordPress sites from one dashboard. Among other features, it allows you to update your plugins in a few clicks. Here is how to update WPML for your WordPress sites using ManageWP.
There are three steps to successfully use ManageWP to update WPML:
- Register WPML for your site.
- Add the site to your ManageWP dashboard.
- Update the plugin.
The first two steps only need to be done once for your site.
Register WPML for your site
Registering your site with WPML enables automated updating for it.
First, add the site to your WPML account:
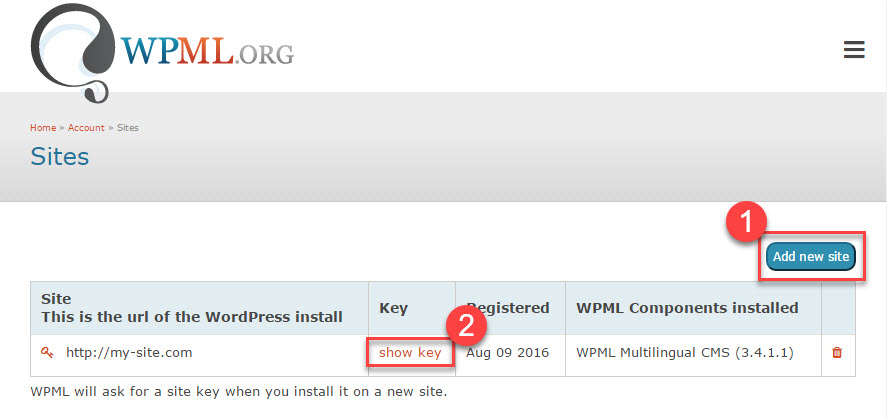
- Go to your WPML Account page and click
- On the Sites page, click Add new site and enter your site’s URL.
- Click the show key link for the site and copy the key.
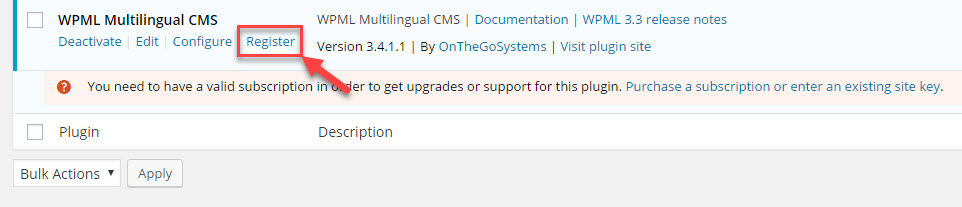
Now, you can go to your site’s WordPress administration, specifically, to the Plugins page:
- Find WPML in the list of your site’s plugins and click on the Register link under its name.
- Click Register WPML and paste the site key you obtained from your WPML Account page.
Automated WPML updates are now enabled for your site. You can find more information about this in the WPML installation guide.
Add the site to your ManageWP dashboard
Now, you need to connect your site with the ManageWP dashboard. The following table gives three steps to do this:
| What to do | Screenshot |
|---|---|
| Log into your ManageWP account and click Add Website to add a new site. | 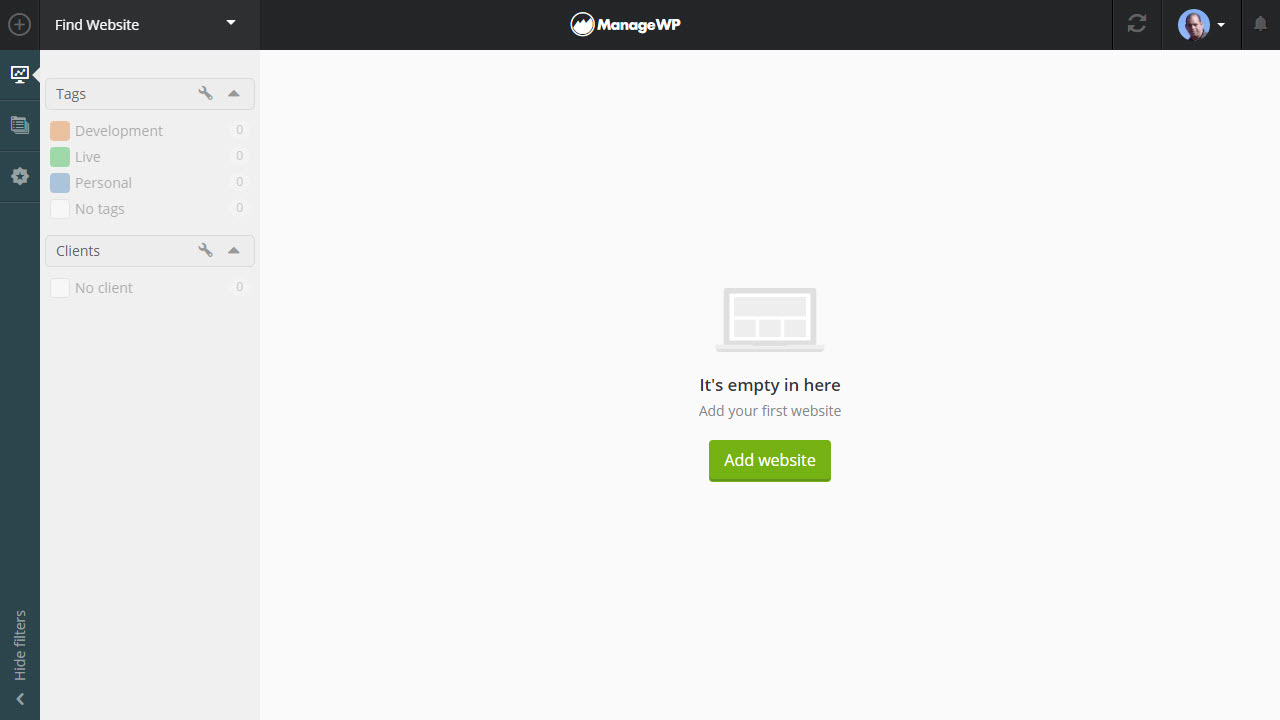 |
| Type in the URL of your site and click Add Website. | 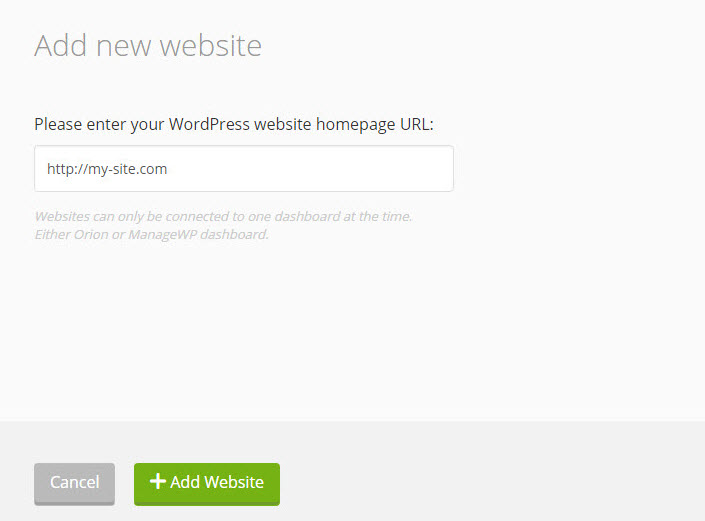 |
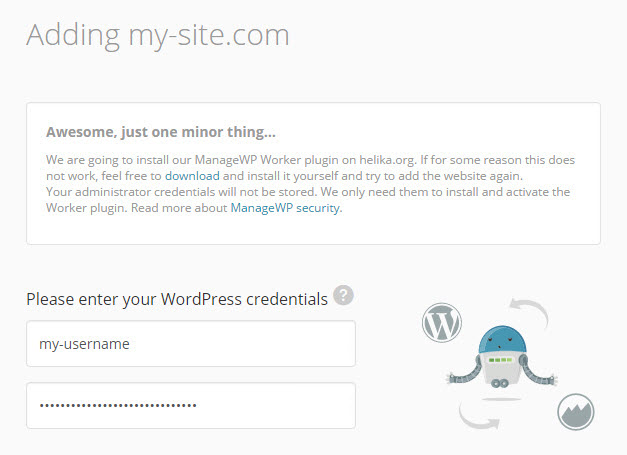
| To connect with ManageWP, your site needs to have the ManageWP Worker plugin installed.
This can be done by ManageWP automatically or you can install the plugin manually, just like any other WordPress plugin. Restart the process of adding the site once you manually install the plugin. To use the automatic process, enter your site’s WordPress username and password, and click Add Website. Your login information is only used once and is never saved. |
 |
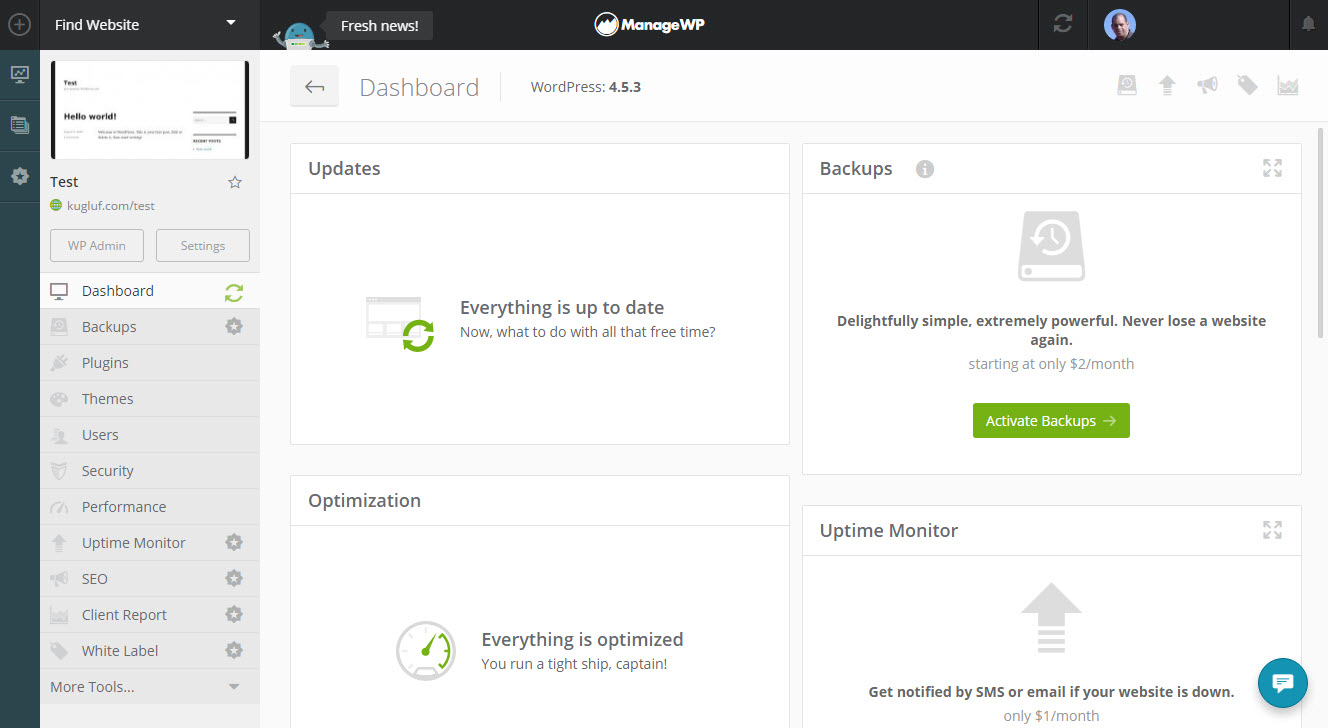
Your site is now connected to the ManageWP service and you can see its overview in the dashboard.
Update WPML using ManageWP
Now that everything is set up, you can use ManageWP to update WPML on your site.
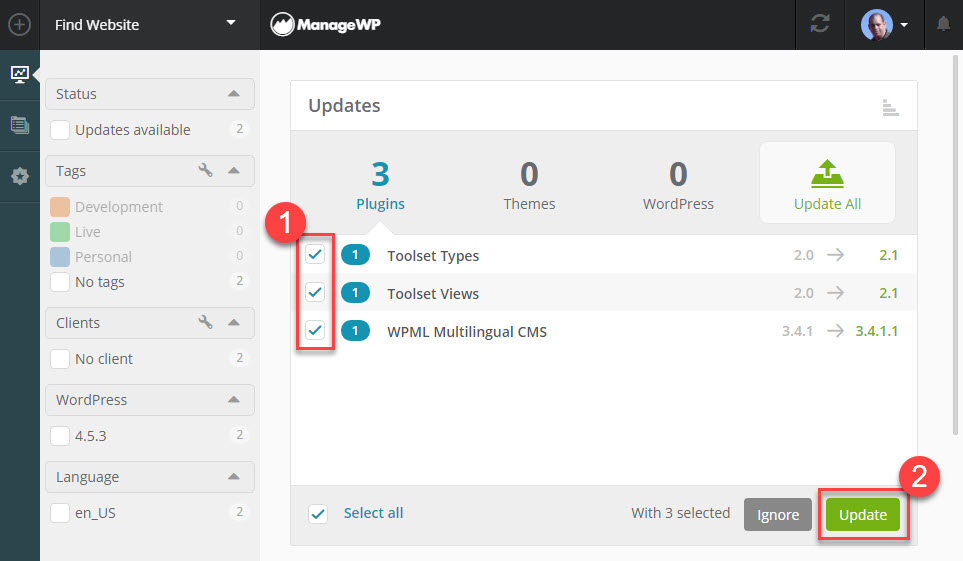
Available WPML updates will appear under the Updates section of the site’s dashboard in ManageWP. To update the plugin, select the checkbox next to it and click Update.
Updating WPML can take some time, depending on the speed of your server. There is a green progress bar at the top of the ManageWP’s interface.
After the update is finished, the dashboard will refresh and the Updates section will again show the usual “Everything is up to date” message.
Troubleshooting
Your site needs to enable remote incoming connections for ManageWP to do its magic. If you are having problems connecting to ManageWP, read about possible causes for not being able to add sites to ManageWP.