Introduction
Photo Gallery is one of the great plugins to create your image galleries in WordPress. Its integration with WPML will allow you to translate your galleries.
What you will need
- Photo Gallery plugin (version 2.1.31 or above).
- A recent version of WPML (version 3.3.8 or above) and the String Translation add-on.
- WordPress (version 4.5.2 or above).
Essential resources
- WPML’s Getting Started Guide will help you set up WPML in a few minutes.
- The Photo Gallery step-by-step guide provides detailed instructions on how to create, customize and insert galleries into pages.
Getting started
- Install and activate the WPML plugin.
- Install and activate the Photo Gallery plugin.
Translation
We will be creating two galleries: one will be inserted in our default language gallery page and the other into our secondary language gallery page.
Create the image gallery (for the default and secondary languages)
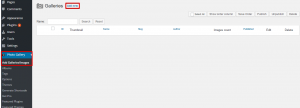
- On your WordPress dashboard, navigate to “Photo Gallery” > “Add Galleries/Images” and click on the “Add new” button.
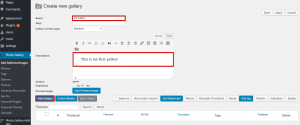
- Fill in the “Name” field and the “Description” field (in case you want to add a description to your gallery).
- Click on the “Add images” button.
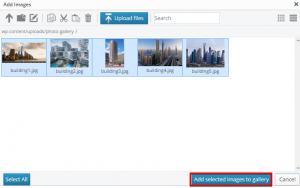
- Click on the “Upload files” button and choose the images that you want to add to your gallery.
- Select the images that you want to add to your gallery or click on the “Select all” button.
- Click on the “Add selected images to gallery” button; add your images titles, description and tags.
- Click on the “Save” button. With that, we have created the image gallery that will be inserted into our default language (in this tutorial it is “English”) gallery page.
- Repeat the same process to create the secondary language gallery (in our case, it is French). Remember to add your translated textual content when creating the gallery.
Create and translate the gallery page
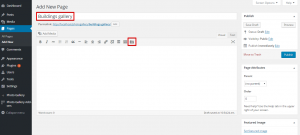
- Navigate to “Pages” > “Add New”.
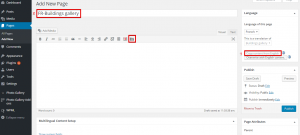
- Add the page title (Buildings gallery).
- Click on the “Insert photo gallery” icon
.
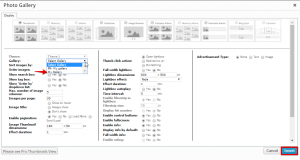
- From the gallery drop down menu, select the first gallery that we have created (in our case, it is “Buildings gallery”) and click on the “Insert” button.
- Click on the “Publish” button.
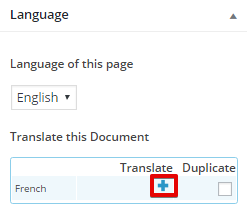
- Click on the
icon, found in the language meta-box on the right, to translate the gallery page.
- Click on the “copy content from English” button and edit the loaded text with your translation in the title and the body.
- Delete the gallery shortcode and click on the “Insert photo gallery” icon
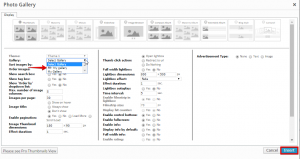
. Choose the gallery that we created for the secondary language (FR-Buildings).
- Click on the publish button.
Now, we have loaded each instance of the gallery that we created into the right page and will display the correct gallery on each of them.


