In this post, we show how easy it is to build the custom structure for your site. We’ll use Types and View Lite plugins, which are available from your WPML account.
Custom Types and Fields Help Organize Content
The most important thing for your clients is being able to manage the site’s content, without having to ask you for every edit.
Custom post types and fields make this happen. They allow editing content in an intuitive and organized way.
As you can see, this is how to structure your custom content:
- Use custom post types to separate content from your regular WordPress posts and pages. You might have a post type for Portfolio, Tours, Books, Ads, Products… whatever you need.
- Use custom fields to easily add information to each custom post and then display it on the front-end separately from the post’s main “body”. For example, each custom “book” post can have fields for “Date of publishing”, “Author”, “Publisher”, “Price”, and anything else you require.
- Use custom taxonomies to categorize your posts. For example, your “Movie” and “Book” posts could belong to different “genres”, where “Genre” is a custom taxonomy you create.
Step 1) Install Types Plugin
To create these custom post types, fields and taxonomies, you will need Types plugin. Go to your WPML account and click on Downloads. Scroll to the Toolset section and download Types.
Step 2) Create Your Site’s Custom Structure
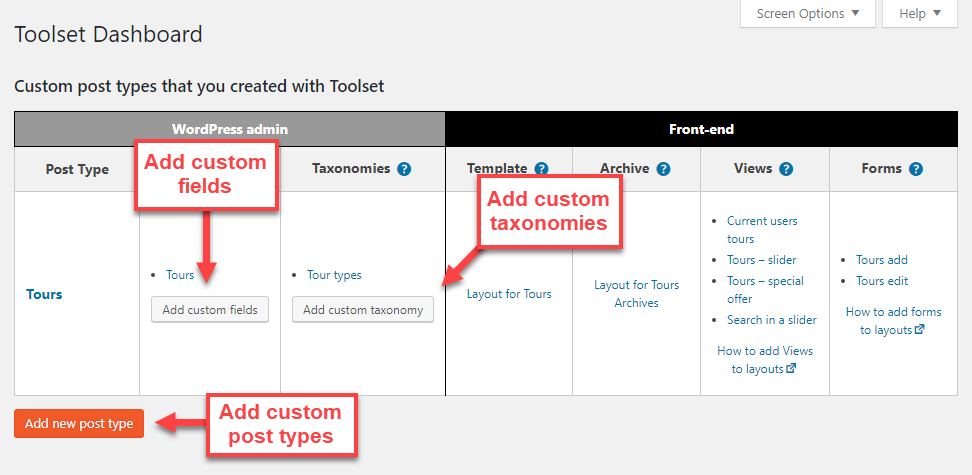
Once you have Types plugin installed, go to Toolset > Dashboard in the WordPress admin. Here, you can create new post types and create custom fields, taxonomies, and more.

For a step-by-step guide, please visit the Toolset page about setting up custom post types, fields, and taxonomy.
Step 3) Write the New Content
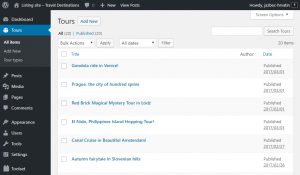
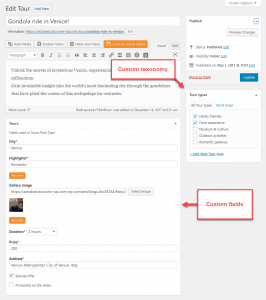
Once you’ve created custom types (with their fields and taxonomy), you can go ahead and start writing content. This content will not yet appear on the site’s front-end, but it’s ready in the WordPress admin.
| List of custom posts | Editing custom posts |
|---|---|
 |
 |
You can already see the benefits of using custom types. Now, you can organize the site’s different content to appear as separate menu items. Different items have their own fields, matching the information that they need to hold.
What’s Next?
There are a number of great courses which will help reinforce what you have learned. Check out this great list of the best online resources to learn WordPress which will take you through exactly what you need to learn as well as which course is the best fit for you.
