Using ManageWP To Update WPML on All Your Client Sites
Amir··3 minutes
Share:
ManageWP is a renowned service that allows you to manage all your WordPress sites from one dashboard. Among other features, it allows you to update your plugins in a few clicks. Here is how to update WPML for your WordPress sites using ManageWP.
There are three steps to successfully use ManageWP to update WPML:
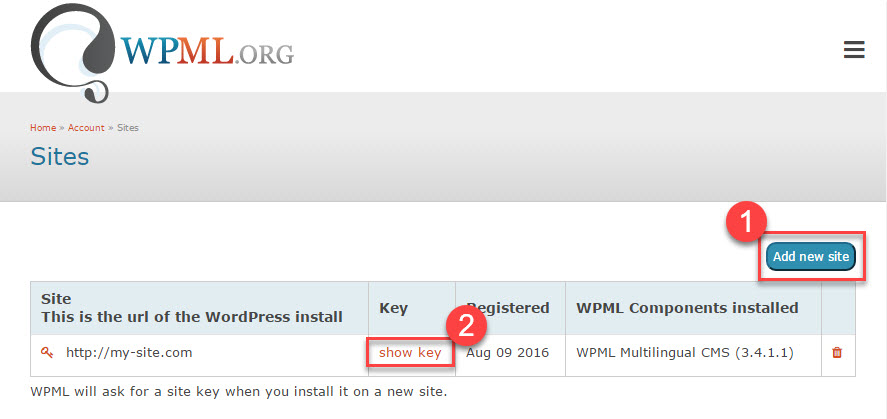
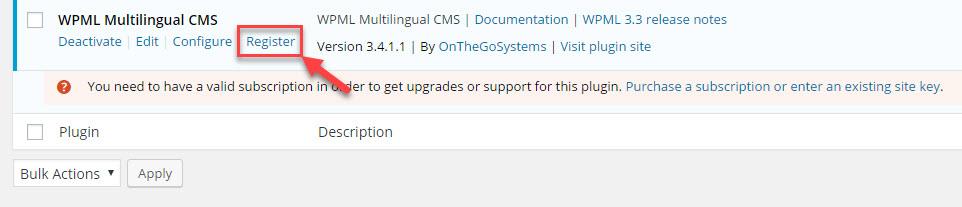
Register WPML for your site.
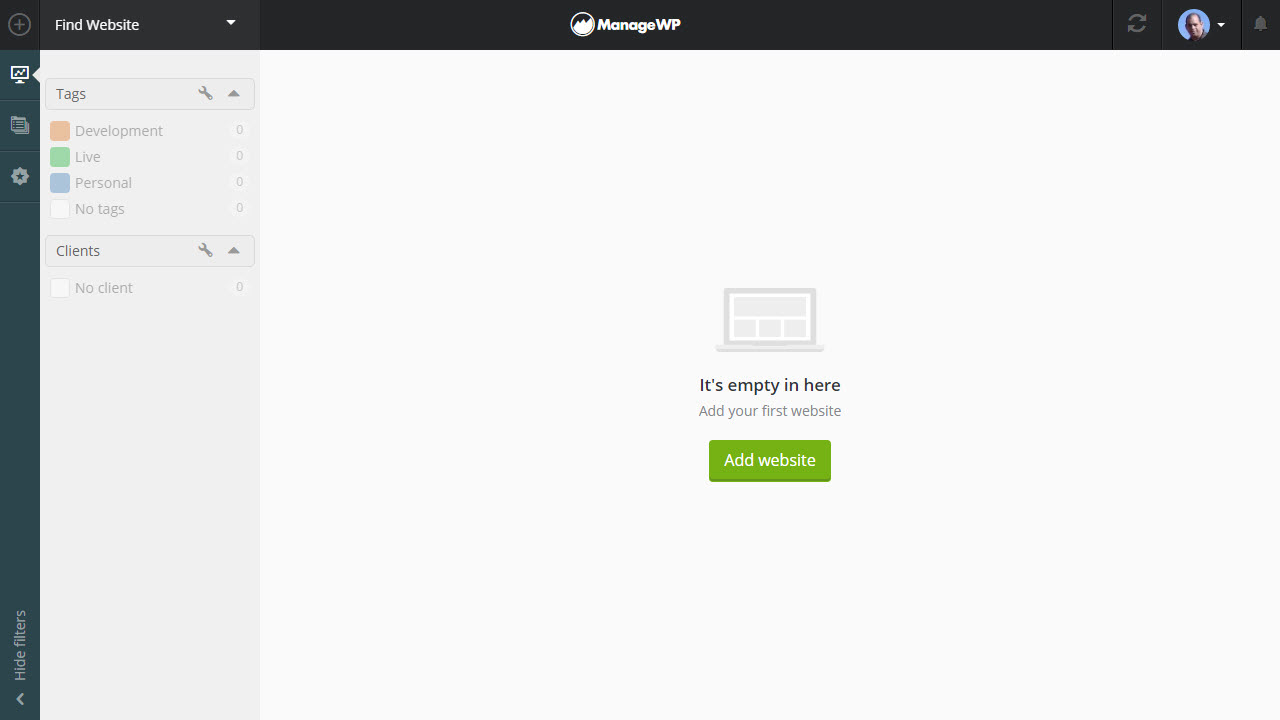
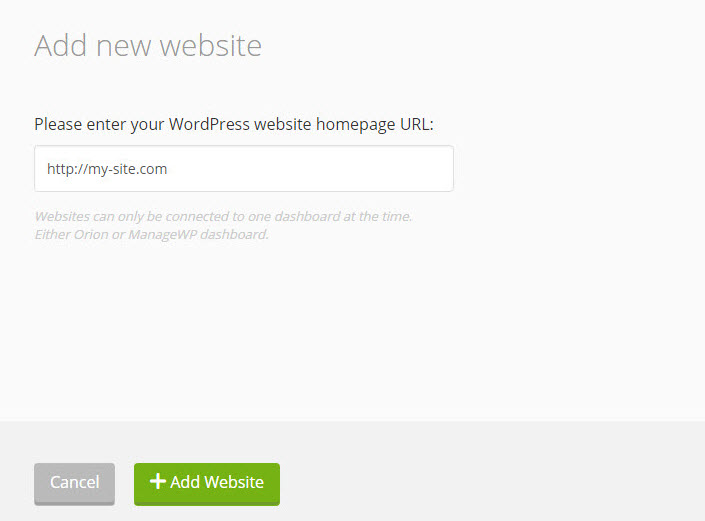
Add the site to your ManageWP dashboard.
Update the plugin.
The first two steps only need to be done once for your site.
Register WPML for Your Site
Registering your site with WPML enables automated updating for it.
This can be done by ManageWP automatically or you can install the plugin manually, just like any other WordPress plugin. Restart the process of adding the site once you manually install the plugin.
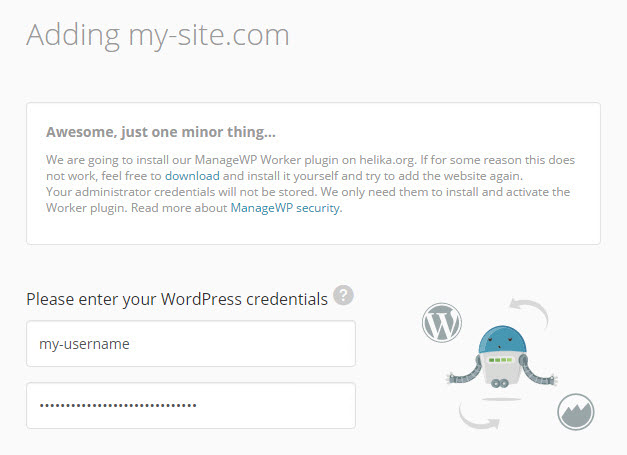
To use the automatic process, enter your site’s WordPress username and password, and click Add Website.
Your login information is only used once and is never saved.
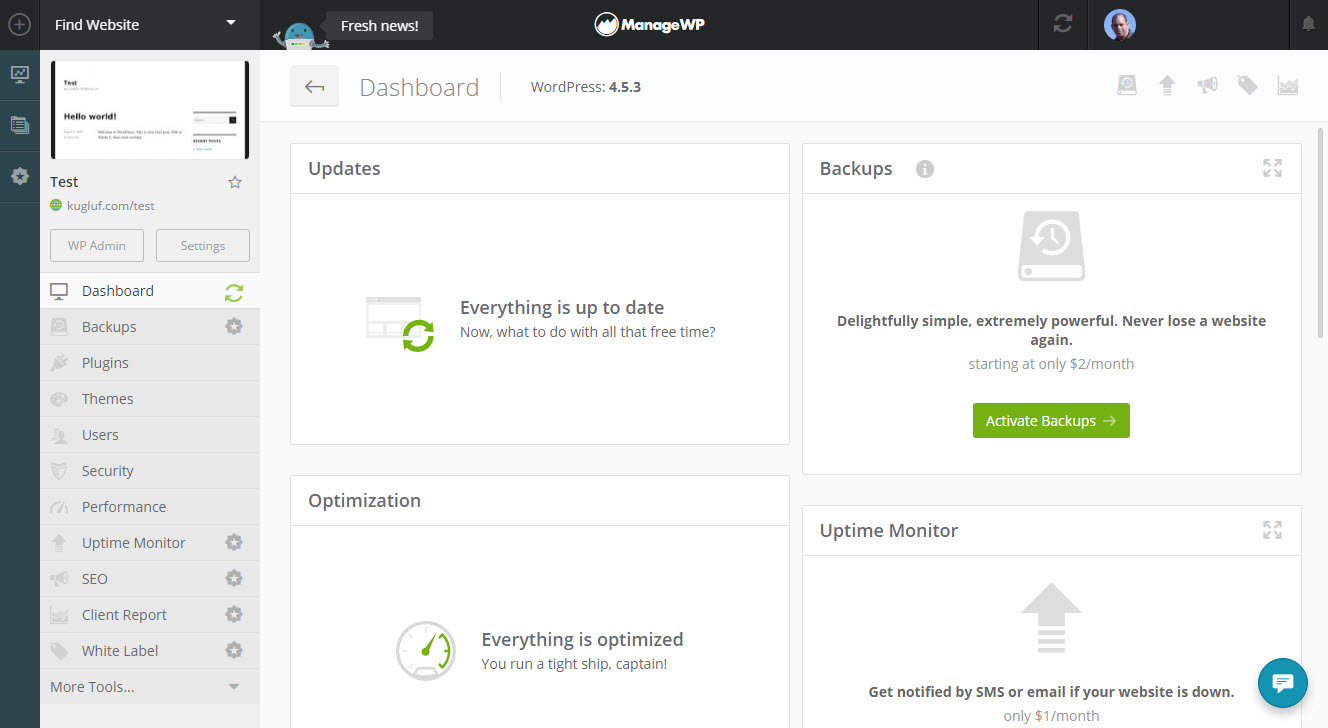
Your site is now connected to the ManageWP service and you can see its overview in the dashboard.
Your Site’s Overview In The ManageWP Dashboard
Update WPML Using ManageWP
Now that everything is set up, you can use ManageWP to update WPML on your site.
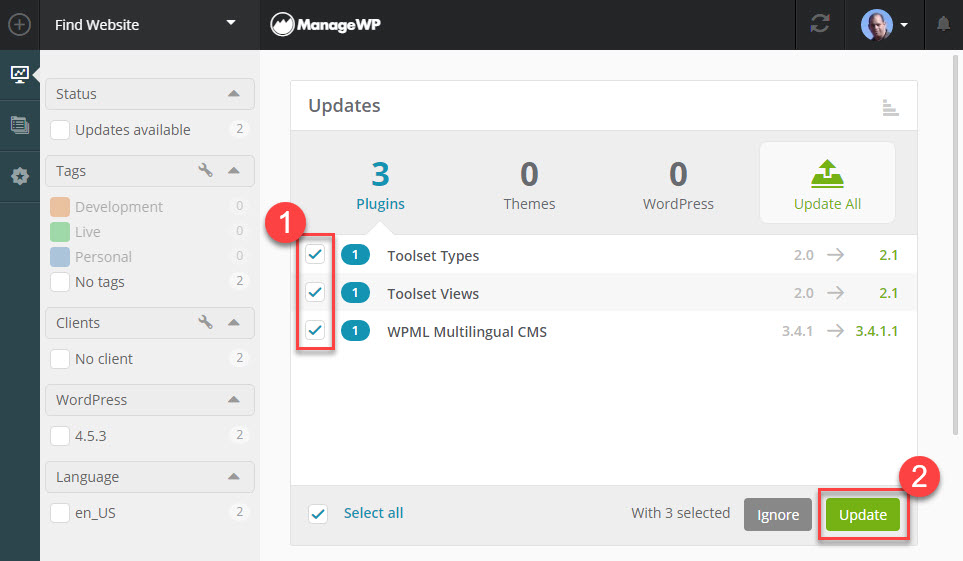
Available WPML updates will appear under the Updates section of the site’s dashboard in ManageWP. To update the plugin, select the checkbox next to it and click Update.
Selecting And Updating WPML And Other Plugins From the ManageWP Dashboard
Updating WPML can take some time, depending on the speed of your server. There is a green progress bar at the top of the ManageWP’s interface.
After the update is finished, the dashboard will refresh and the Updates section will again show the usual “Everything is up to date” message.
We just released WPML 5.0. It gives you one place to run everything, translates your whole site while you do other things, and with PTC it bills each page once, so your later edits are free.