The “Migrate Polylang to WPML” plugin makes it easy to move sites from the Polylang plugin to WPML. It migrates the language information for posts, pages, custom post types, and taxonomies.
Requirements
Of course, you need to have a WPML account to migrate to WPML. The Multilingual Blog account will work for most sites coming from Polylang. To enjoy all the features of WPML, you should get the Multilingual CMS account, which includes String Translation and Translation Management.
You also need to install the Migrate Polylang to WPML plugin.
Downloading “Migrate Polylang to WPML” Plugin
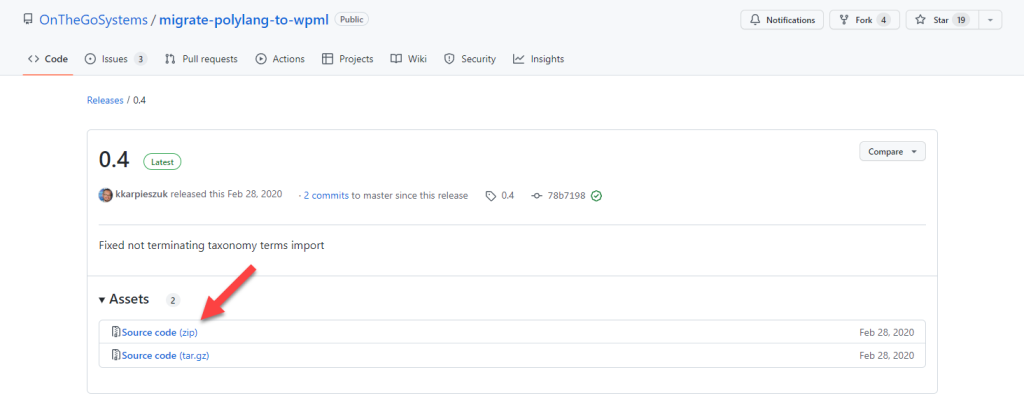
To download it, go to Migrate Polylang to WPML on Github and get the latest release (click the latest release in the right sidebar). On the page that loads click the format that you prefer (zip or tar.gz).

After downloading the plugin, you can upload it to your WordPress site like any other plugin: Go to the Dashboard → Plugins page and click the Add new button. On the next page, click Upload plugin and choose the downloaded archive.
Migration step 1: Save Polylang data and deactivate it
To save Polylang’s data follow the steps below:
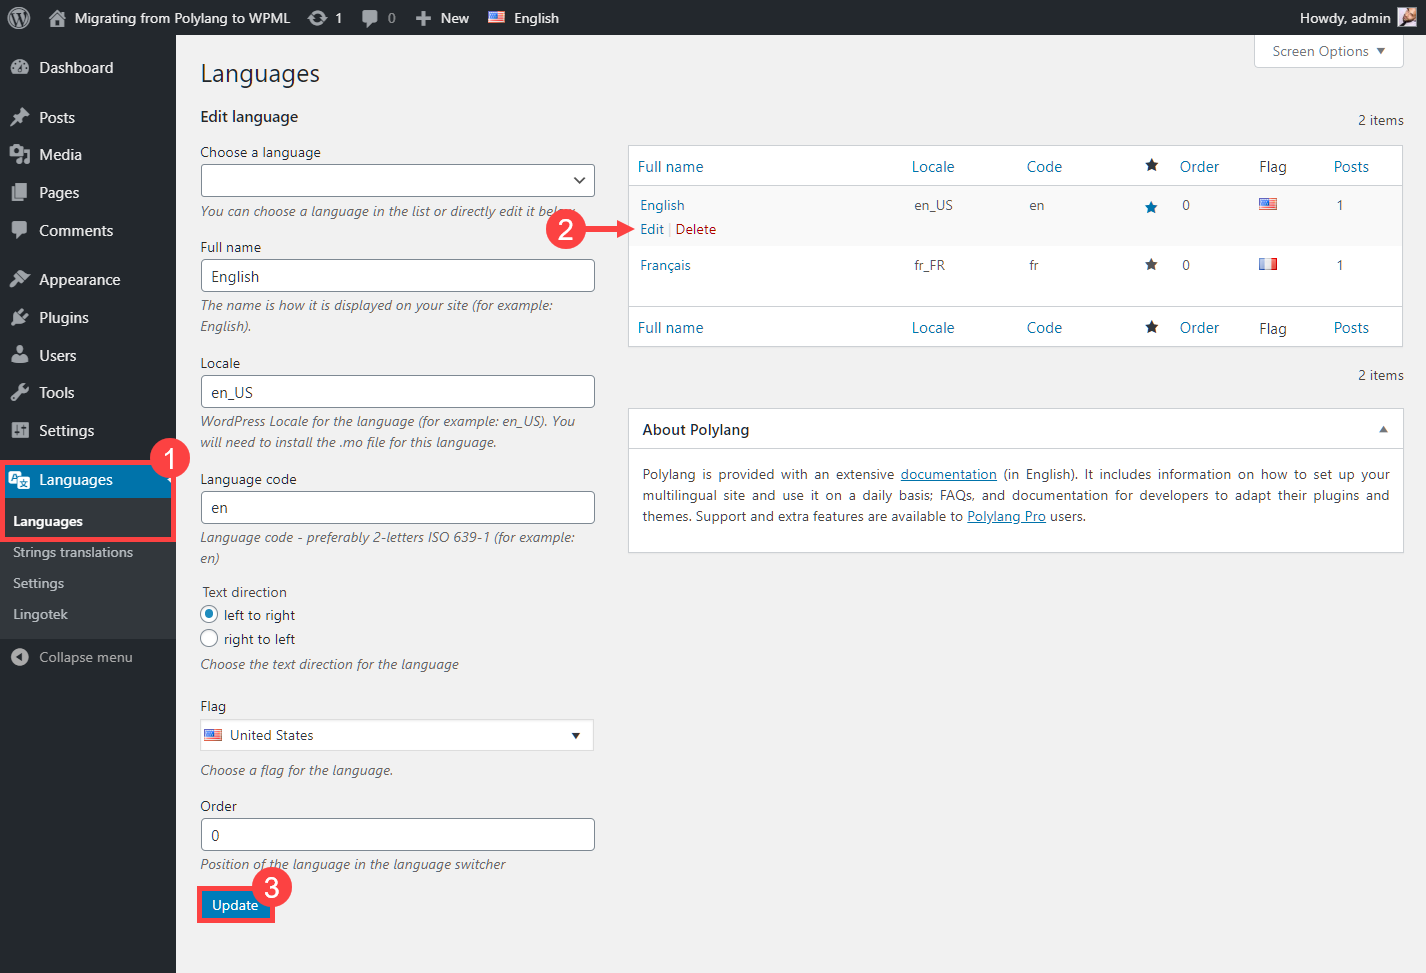
- Navigate to Languages → Languages.
- Click on the Edit link for each language then click the Update button.

After saving Polylang’s data for all the languages, you must disable Polylang before initiating the WPML migration process. Attempting to activate WPML while Polylang is active will lead to a WordPress fatal error. So please remember to deactivate Polylang, before activating all the plugins mentioned in the Requirements section.
Migration step 2: Database Backup
The migration process modifies global site settings and updates the language information of all the content in your site. You should definitely create the full backup of your database before starting the migration process (even if you already did it successfully on other sites).
There are several great backup plugins and you can also take a DB snapshot from your hosting control panel.
Migration step 3: Complete the WPML Wizard
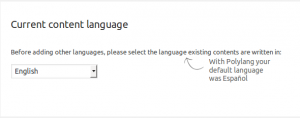
When you activate WPML, you will see a message requesting you to complete the WPML Installation Wizard. This is the standard WPML plugin installation wizard displayed to every WPML user, not only those who are migrating from Polylang. Please follow the wizard’s on-screen instructions. Remember to select the same languages you selected in Polylang. The migration plugin will display tooltips reminding you which settings you have chosen for Polylang:
Migration step 4: Initiate the Migration
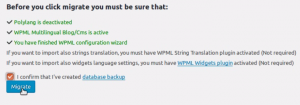
Go to Dashboard → Tools → Migrate from Polylang to WPML, tick the “I confirm that I’ve created database backup” checkbox to confirm that you have backed up your database (see step 1 above) and click on the Migrate button.
Important: Do not close this page until you see the message stating that migration is completed. This might take a few minutes depending on the content size of your Website.
Review Your Site and Check that the Migration Went Smoothly
When the migration process is complete, check if everything is working as expected:
- The posts are in the correct languages.
- The language switcher is redirecting to correct translations.
If something went wrong while migrating, please report it at our support forum . If something got stuck during the migration process, you can run it again. Migration will only process content that wasn’t processed yet.
You will have the option to drop remaining Polylang data after the migration. We strongly recommend that you postpone dropping Polylang data process for few days or weeks. Remember that deleting Polylang database content is an irreversible process. In case you notice that something went wrong, you will not be able to redo the migration once the Polylang database is deleted.
Handling Different URL Structures
Polylang always redirects from the site’s root (example.com) to the default language folder (example.com/en/). WPML displays the default language in the root URL. If there are any links to the default language’s folder, we recommend that you add a server redirect from it to the site’s root.
Follow these steps to add a 301 redirect using .htaccess:
- Connect to your WordPress site using an FTP program and download the “.htaccess” file, which is located in the WordPress root folder.
- At the end of the file add this line:
RedirectMatch 301 /en/$ http://example.com/index.php
(replace “en” with slug of your default language and “example.com” with URL to your site)
- Upload this file again on your server.
Finally, Deactivate the Migration Plugin
The Migrate Polylang to WPML plugin is only needed for the migration process. Once you’re done, you should deactivate it. You can also remove from the ‘plugins’ directory of your site.
Getting Help
In case you are encountering any issues with the migration process, please open a ticket at our support forum.


