1. Create an Account
To begin, go to Translation Hub and create a new account. If you already have an account on wpml.org, you can log into Translation Hub using your existing credentials.
2. Add Clients
To receive translation jobs from clients, you first need to add them to your account:
- In Translation Hub, go to the Clients tab.
- Click Add new client
- Enter your client’s details.
Your client will now receive an email with instructions for connecting to your service in WPML.
If your clients can’t find the email, go to their profile and send them their Activation Key and API Token – they’ll need this to connect with your service.
3. Translate Content from Clients
Content that clients send you for translation will appear in Translations → Jobs.

To begin translating, enter the job and click the Translate online button.

This will open the built-in translation editor where you can translate manually by yourself, or with WPML’s AI translation.

If you prefer to translate with your own translation tool, you can also export the translation job as an XLIFF file.

If you don’t see the XLIFF file option, go to Account management, scroll down to the Translation method section and enable the XLIFF files option.
Once you complete the job, your clients will automatically receive translations on their websites.
4. Handle WPML Fees
WPML charges a small fee when you work with clients who found you via our plugin or translation service directory.
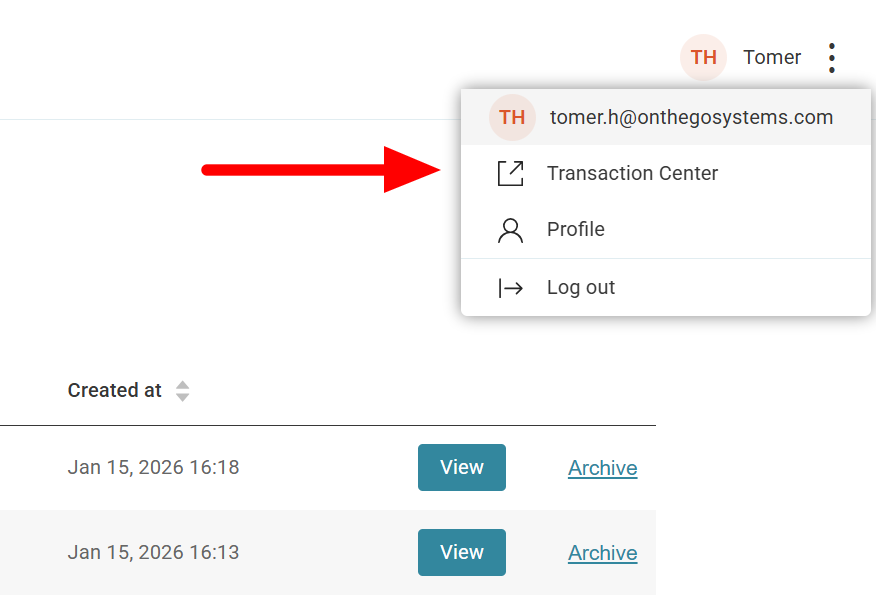
To view your pending fees and handle invoices, click the three button icon at the top right of your account and then Transaction Center.

Frequently Asked Questions
What should I do if clients don’t receive my translation?
If clients don’t receive your completed translation, go to the translation job, scroll down to the Troubleshooting section and click Resend translation.
How can I stop clients from sending me content?
To stop clients from sending you content, edit the client profile and set its Status field to Disabled. Your client won’t be able to send new content for translation now.
How can I set up custom language mapping?
To set up custom language mapping:
1. Go to Languages → Language Mappings.
2. Choose a language code from the right sidebar.
3. Enter your new language code and save.


