How to translate WordPress content using MetaTexis
1. Starting the translation.
In order to start translation with of a .xliff file, you have to open it from MetaTexis
a) Start MS Word, go to Add-ons/Metatexis, select File > Open and choose the file you wish to load.
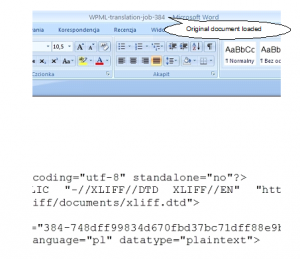
2. MetaTexis assistant
Start the MetaTexis assistant (MetaTexis > File > Start Assistant) and you will see a message popping up, asking if you want to translate the document with MetaTexis. After selecting Yes, a window appears, where you can see the type of the selected files and make final adjustments concerning the translation memory, glossary, etc.
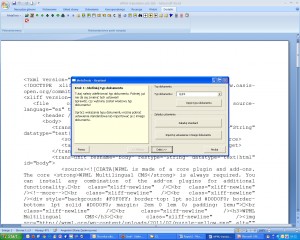
3. Document conversion
After providing all necessary data, the document is converted and saved by MetaTexis in MS Word 97-2003 .*doc format and all further work is done on this transitional file
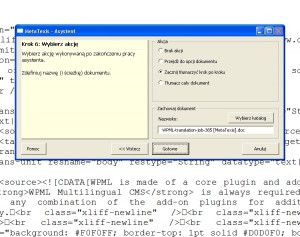
4. Document ready for translation
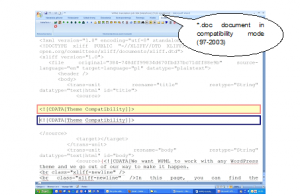
5.Segmentation
In the course of the translation, MetaTexis ignores all segmentation marks that would be otherwise used, e.g. punctuation marks, hard line breaks. The segment created within a XLIFF file is limited only by the <source> tags. Everything else is treated as text for translation. Therefore, one segment can span over a few pages, and it is impossible to see the original content. At the same time, the translator does not know if the text they see should be translated or left intact.
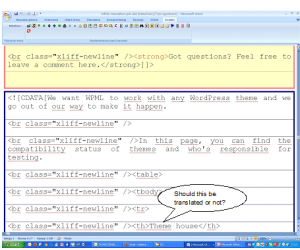
Because almost all tags and all segmentation marks in the document are ignored, the resulting TU spans over a few pages and it is impossible to see the original during translation.
6.Finalization
Assuming that we have finished the translation successfully, what we still have is a Word *.doc document which has to be converted back to the XLIFF file. We have to finalize the translation, clicking this symbol in MetaTesis menu:

The following pop-up appears with a few options:
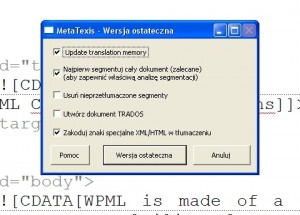
Click the biggest button (“Final Version”), a file save window opens:
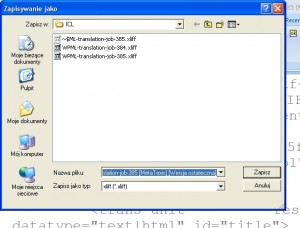
As you can see, the file is saved as an *.xliff, but its name has been appended with [MetaTexis][Final Version]. Everything seems fine. However, when we open the final version in any text editor, we can see that some symbols, like >, <, and “ (quotation mark), have been replaced by their verbose descriptions: >, <, " (see Fig. 9), which makes it impossible to upload the xliff file to the WPML system. Another edit is required to change the “descriptions” back into symbols.

Conclusion
If you’re going to use MetaTexis, be prepared for some additional work. Because MetaTexies uses Office .doc format for editing, you will need to convert some characters to their correct formatting.
The files to be translated with MetaTexis must be pre-segmented with <source> and <target> tags, because MetaTexis treats the contents of the <source> tags as one segment/translation unit, and treats all the tags and symbols within as elements to be translated. Also, since MetaTexis uses *.doc as the “transitional” format between the original and the final versions, font coding issues occurred and all the <, >, “, and other symbols were replaced with their &xxxx; descriptors, which made uploading the file to WPML impossible. Only replacing the “descriptors” with their corresponding symbols enabled uploading the file.
Using MetaTexis to translate XLIFF files requires preparation of the file for translation and additional editing of the file after the final version is created.
