WPML lets you add a language switcher to your website’s menu, as a widget, or in the footer. You can also include flags, display languages in their native names, and add custom styling.
A language switcher allows visitors to select the language in which they want to read your content. Depending on your preference, you can display it in different locations on your website.
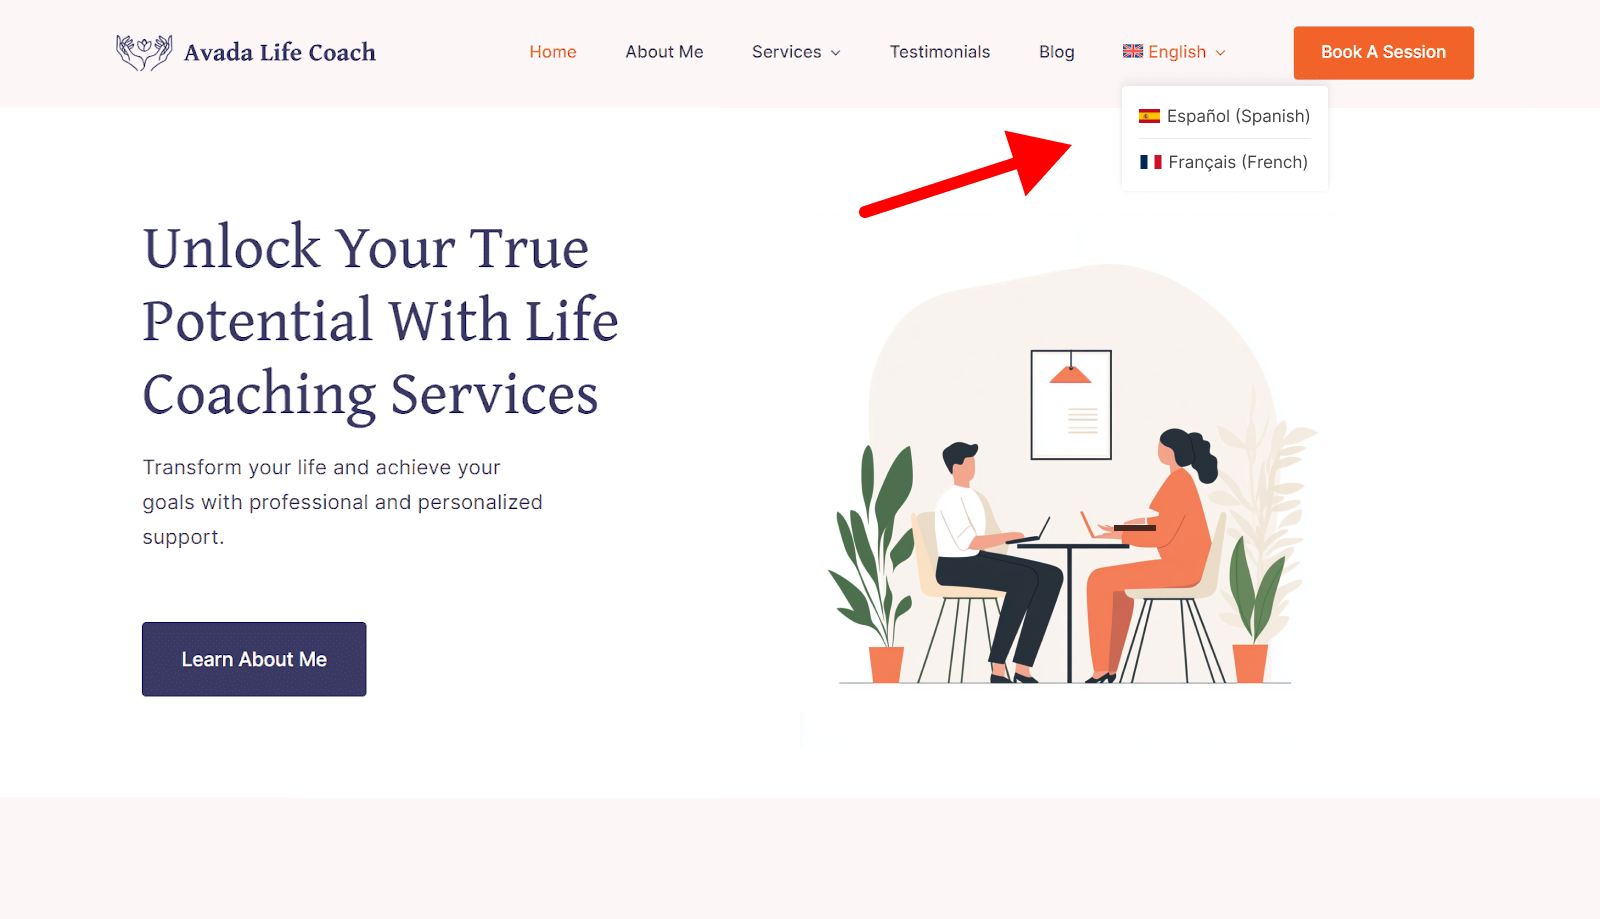
For example, you can place your language switcher as a menu, in the header section.
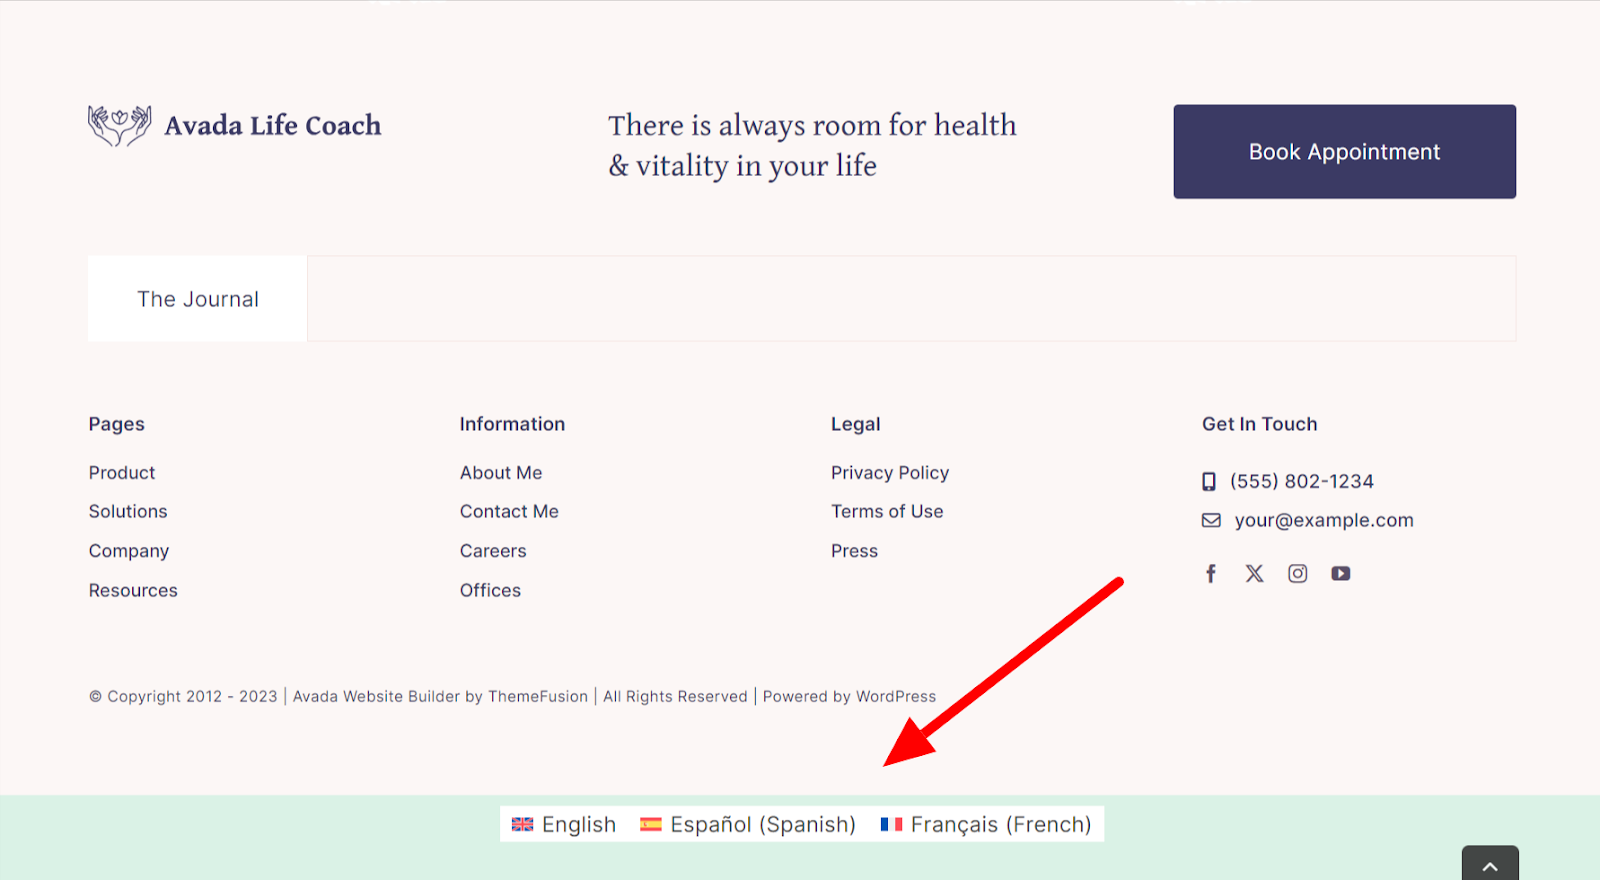
Or, if you don’t want to edit your header’s design, you can place the language switcher at the bottom of your footer section.
With WPML, you can easily add language switchers to your site like those featured above.
How to Add a Language Switcher with WPML
With WPML, you can add multiple language switchers in various locations. This includes:

Menus

Widgets

Templates
Post content
Add Language Switcher to a Menu, Widget, or Footer
To add a language switcher to a menu, widget, or footer, go to WPML → Languages. From here, you can add, edit, and customize each language switcher.

Add Language Switcher to Post Content
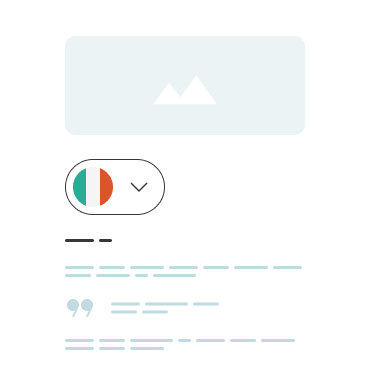
Language switchers in post content appear as inline links.
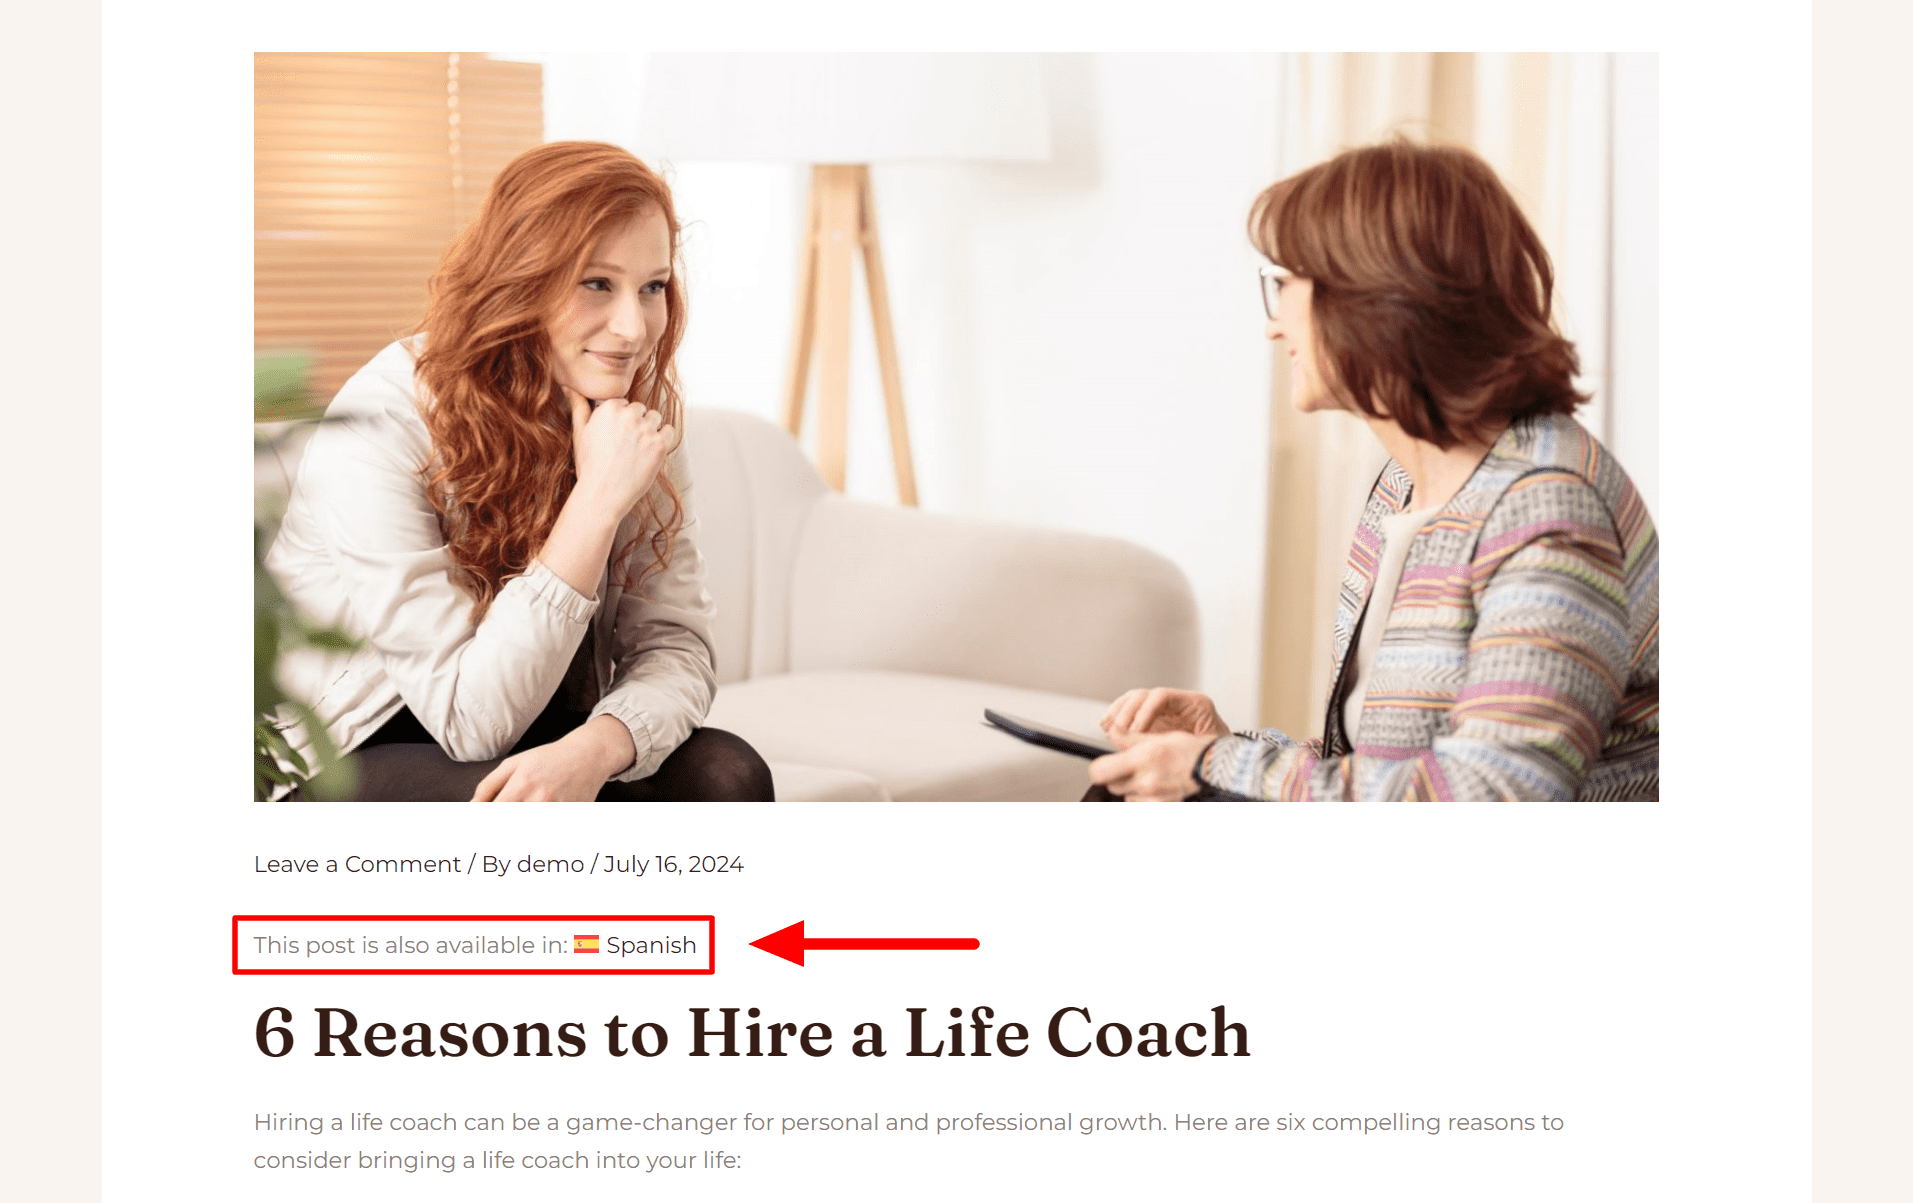
Similarly to regular language switchers, you can include flags, display languages in their native names, and control where on the page the links appear; below or above the post.
To add a language switcher in the post content:
- Go to WPML → Languages.
- Scroll down to Links to translation of posts and check the box.
Add Language Switcher to a Template
Using the WPML Language Switcher block, you can add a language switcher to any template or template part of your site.

Like other block elements, to display the WPML Language switcher in other languages, you need to translate it:
- Go to WPML → Translation Management.
- Select the template you added the language switcher to.

- Choose a translation method and Translate.
The language switcher will now be visible in your secondary languages.
Style Your Language Switcher
WPML offers various styling options to customize each type of language switcher. This includes:
- Order or languages
- Show / hide language flag
- Dropdown or list layout
- Show languages in native name
To modify any of these settings, go to WPML → Languages and edit the language switcher you want to customize.
If you need more customization options, and are comfortable using code, you can create custom language switchers using PHP.
Get Started with WPML
To add language switchers with WPML, you need the Multilingual CMS or Multilingual Agency plan. See our pricing page for more information.