What is the Classic Translation Editor?
Classic Translation Editor is WPML’s legacy editor for translating website content by yourself. While you can still use it, its outdated technology poses a higher risk of breaking the markup of your site on the front-end.
For instance, unlike the Advanced Translation Editor, the Classic editor doesn’t automatically handle HTML tags. This means you need to manually add HTML markup when translating content, and risk breaking your pages if you accidentally make a mistake.
The Classic editor also doesn’t support the following important features:
- Automatic translation
- Media translation
- Translation memory
- Glossary
Choosing Your Translation Editor
To choose a translation editor, go to WPML → Settings, scroll down to the Translation Editor section, and select the editor you want to translate with.
Since the Classic editor is a legacy feature, we strongly recommend using the new Advanced Translation Editor.
How to Translate With The Classic Translation Editor
To translate with the Classic Translation Editor:
- Go to WPML → Translation Dashboard.
- Select the content you want to translate and send for translation.
- Next, go to WPML → Translations and click the Translate button. This will open the Classic Translation Editor.
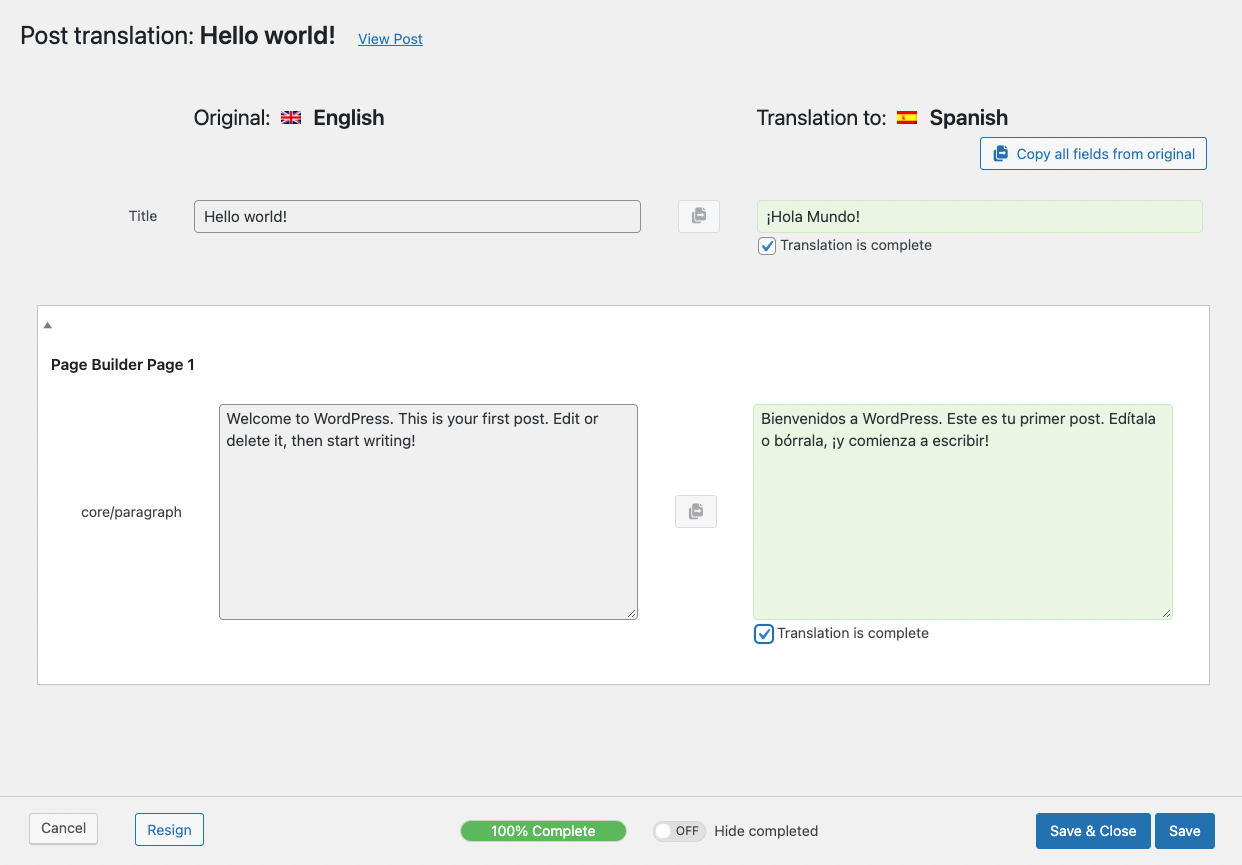
- Manually enter your translations in the containers and click Save to publish them to your site.
Remember – incorrect HTML markup may break your pages, so double-check your translations before saving.