The Black Studio TinyMCE Widget plugin allows you to design widgets using the default WordPress Visual Editor. In this tutorial, we explain how to translate widgets created using Black Studio TinyMCE Widget plugin.
Getting started
If you are a developer:
- Make sure that the Black Studio TinyMCE Widget plugin is installed and activated.
- Make sure that the WPML Multilingual CMS 3.8.0 or above is activated.
If you are a site owner working with a developer, ask them to check the above things for you.
WPML translation tools
WPML offers two translation editors you can use for translating your site’s content:
- WPML classic translation editor (CTE).
- WPML Advanced Translation Editor (ATE) offers affordable automatic translation, a glossary, spell checker, and more!
Besides translating your site content yourself, you can also:
- Send your content for translation to a professional translation service.
- Create your own team of local translators from the Translation Roles tab in Translation Dashboard and assign translation jobs to them.
Translating widgets created using Black Studio TinyMCE Widgets
-
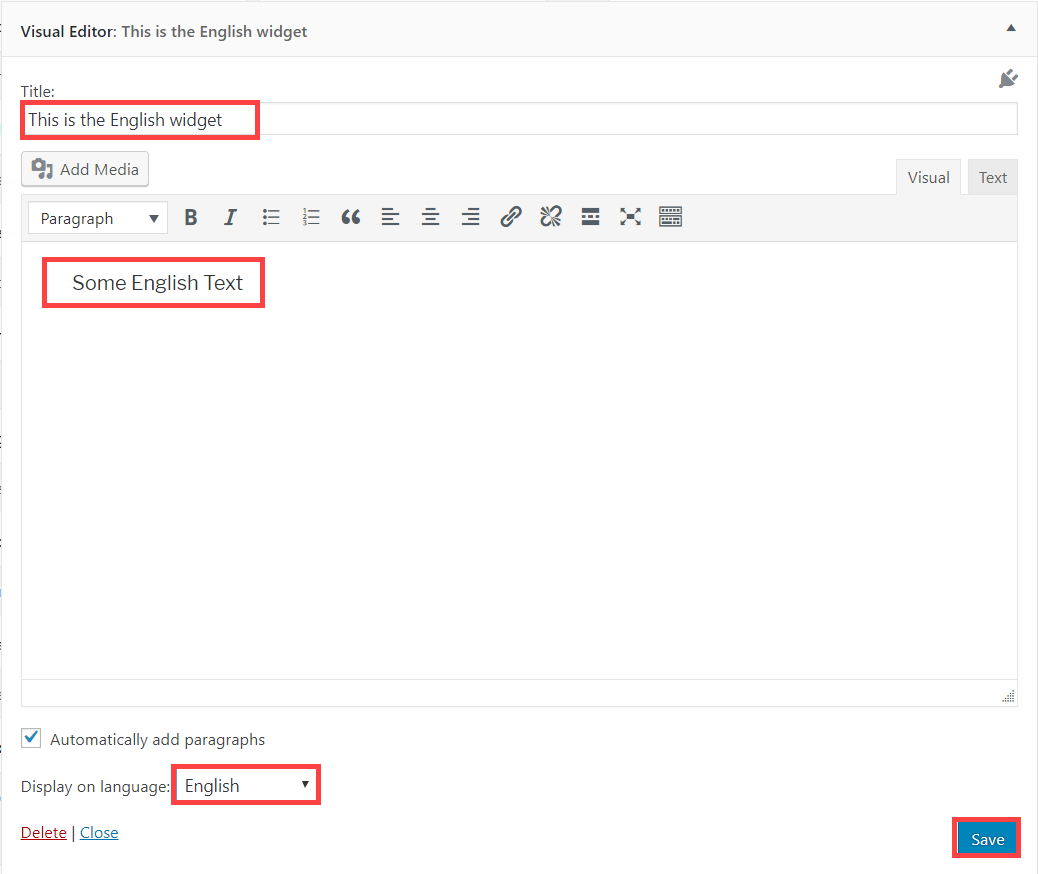
- Go to the Appearance → Widgets page. To add a new widget drag-and-drop the Visual Editor widget to your desired sidebar.
- Add your default language content to the widget and set its language to be your default language. In this example, I set the widget language to English.
-
- Add another Visual Editor widget to the sidebar. This time add you secondary language content to it and assign it to your secondary language. In this example, it is Spanish.
This is how the translated widget looks like on the front-end.
You can follow the same steps to translate any type of widget in your sidebar.
Getting help
In case you need help translating your site built using Black Studio TinyMCE Widget and WPML, visit WPML’s support forum.